Understanding Bike Wall Mounts
What is a Bike Wall Mount?
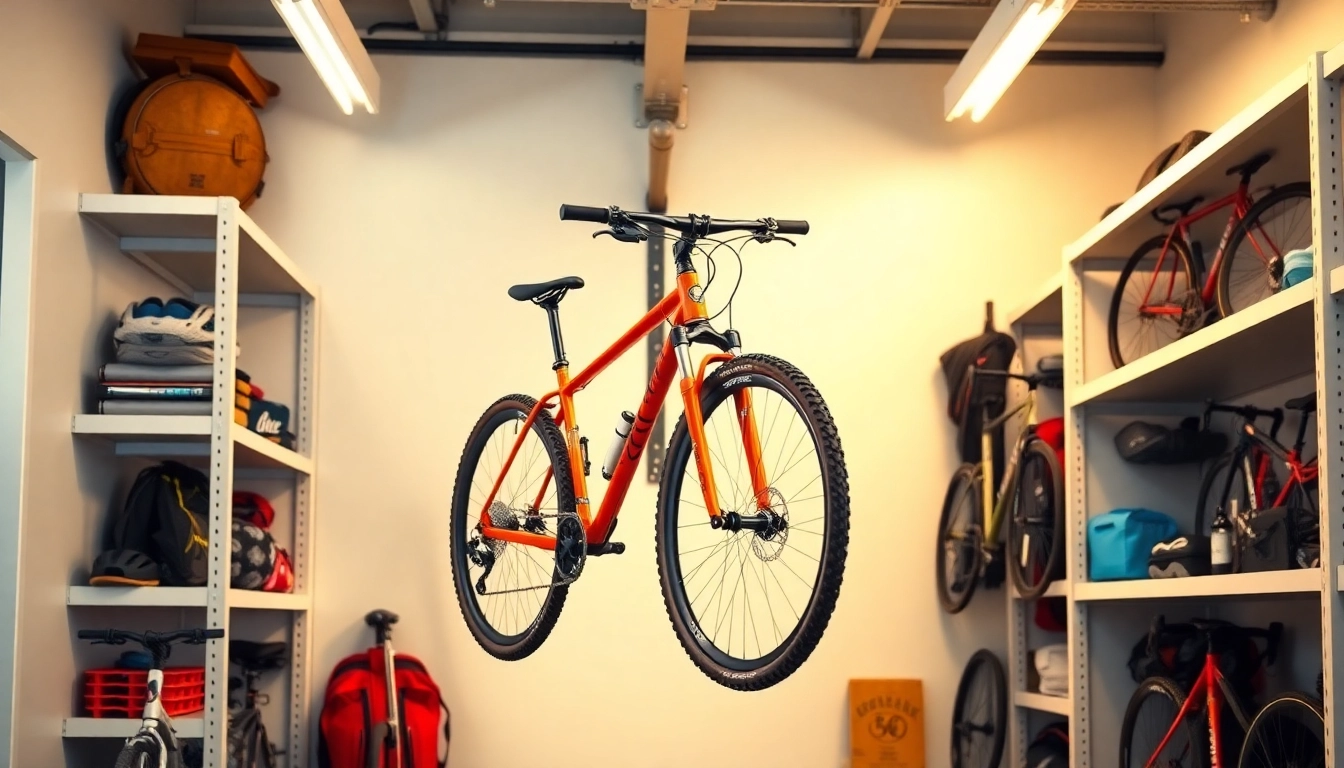
A bike wall mount is a specialized storage solution designed to securely hold bicycles off the ground, making it a practical choice for homes, garages, or any space where bike storage is necessary. These mounts are typically wall-mounted and can accommodate various bicycle styles and sizes. Their primary function is to provide an organized, space-efficient way to keep bikes stored while also ensuring they are easily accessible. By utilizing wall space, bike wall mounts not only promote safe storage practices but also help maintain a tidy environment, freeing up floor space for other uses. For those interested in enhancing their bike storage solutions, learning more about the Bike wall mount options is essential.
Types of Bike Wall Mounts
Bike wall mounts come in various types, each suited for different needs and preferences. The most common types include:
- Horizontal Mounts: These mounts allow the bike to hang horizontally and are often equipped with cradles or hooks to support the frame and wheels.
- Vertical Mounts: Ideal for spaces with limited horizontal clearance, vertical mounts hold the bike upright, helping to save space while keeping the bike secure.
- Swing Arm Mounts: These innovative mounts have an arm that swings out for easy access to the bike. They are particularly beneficial in tighter spaces, allowing users to move the bike out of the way when not in use.
- Multi-Bike Storage Solutions: These mounts are designed to hold multiple bicycles, making them perfect for families or cycling enthusiasts with several bikes. They can often accommodate various bike styles and sizes.
Benefits of Using a Bike Wall Mount
Integrating a bike wall mount into your space offers numerous benefits:
- Space Efficiency: By utilizing vertical space, bike wall mounts free up floor space, making garages and other storage areas less cluttered.
- Protection for the Bike: Wall mounts keep bikes elevated and protected from damage that can occur from being left on the ground.
- Easy Accessibility: With proper mounting placement, bikes can be quickly and easily accessed, encouraging riders to use their bikes more frequently.
- Organized Storage: A dedicated bike wall mount contributes to a more organized environment, particularly when paired with storage solutions for biking accessories such as helmets and tools.
Factors to Consider When Selecting a Bike Wall Mount
Space Limitations and Availability
Before selecting a bike wall mount, it’s essential to assess the available space in the intended area. Measure the height, width, and depth of the space to ensure that the chosen mount can fit comfortably while allowing space for the bike’s dimensions. If working with a small area, consider vertical wall mounts that utilize height rather than width. Additionally, the layout of the room should facilitate the bike’s easy access without obstructing walkways or other activities.
Weight Capacity and Compatibility
It’s crucial to consider the weight capacity of the bike wall mount. Not all models can support heavy bikes, such as mountain or electric bikes. Check the specifications of potential mounts for their weight limits and compatibility with your bicycle’s frame style. Ensuring that the mount can handle the weight of your bike not only promotes safety but also prolongs the life of both the mount and the bike.
Ease of Installation
Look into the installation process for the bike wall mount. Some models may require advanced skills or tools, while others are designed for easy installation. Consider factors like the type of wall (drywall, concrete, etc.) and whether the mount comes with all the necessary hardware for installation. Easy-to-follow instructions can make a significant difference, particularly for those who may be inexperienced with DIY projects.
Best Practices for Installing Bike Wall Mounts
Tools Required for Installation
To successfully install a bike wall mount, you’ll need a few essential tools. These typically include:
- Drill and drill bits, suitable for the type of wall
- Stud finder (if mounting on drywall)
- Level to ensure proper alignment
- Screwdriver
- Measuring tape
- Pencil for marking drilling points
Step-by-Step Installation Guide
Follow these general steps for a successful installation:
- Choose the Location: Select a convenient area that allows for easy access to the bike and does not obstruct walkways.
- Check for Studs: If working with drywall, use a stud finder to locate the studs where the mount will be attached for maximum support.
- Mark the Drilling Points: Using a pencil and level, mark the points where screws will be inserted based on the mount’s installation guide.
- Drill Holes: Using the appropriate drill bit, drill holes into the wall at the marked points.
- Attach the Mount: Position the mount over the drilled holes and insert screws, ensuring everything is tight and secure.
- Test the Stability: Gently pull on the mount before hanging the bike to ensure it is securely installed.
Common Mistakes to Avoid
Avoiding common pitfalls during installation can save time and ensure safety. Some prevalent mistakes include:
- Failing to locate studs in drywall, leading to inadequate support.
- Improperly measuring the bike’s clearance, resulting in insufficient space to maneuver the bike.
- Using incorrect screws or anchors that are not designed for wall mounting.
- Neglecting to test the mount’s stability before placing the bike on it.
Maintenance Tips for Bike Wall Mounts
Regular Inspections for Safety
Regularly inspecting your bike wall mount is essential to ensure its continued safety and functionality. Check for any signs of wear, loose screws, or damage periodically. Look for cracks or any structural concerns that may arise over time due to the weight of the bikes. Addressing these issues promptly can prevent accidents or damage to your bike.
Cleaning and Upkeep Guidelines
Keeping your bike wall mount clean not only maintains its appearance but also ensures that mechanisms operate smoothly. Wipe down the mount with a damp cloth to remove dust and grime periodically. If the mount is made of metal, check for rust and treat areas if necessary. Ensure that any screws or bolts remain tightly fastened, and lubricate moving parts if applicable.
When to Replace or Upgrade
Over time, you may find that your bike wall mount no longer meets your needs or may be showing significant wear. Signs that it’s time to replace your mount include:
- Visible damage or structural instability that could compromise safety.
- Incompatibility with new bikes acquired that differ significantly in weight or structure.
- Outdated designs that do not take full advantage of modern storage solutions.
Maximizing Efficiency with Your Bike Wall Mount
Organizing Accessories Alongside Your Bike
To create a streamlined bike storage solution, consider organizing accessories along with your bike. Use small wall-mounted shelves or hooks to store helmets, locks, and tools. This practice not only keeps necessary gear within reach but also enhances overall organization in your space.
Utilizing Vertical Space in Small Areas
In small spaces, maximizing vertical storage is paramount. Use vertical mounts strategically to keep floor space clear and allow for other uses, such as exercise space or crafting areas. Consider over-the-door bike mounts if wall space is limited. This strategy can turn even the most confined areas into functional and accessible bike storage zones.
Incorporating Storage Solutions for Gear
In addition to storing the bike itself, incorporating designated storage solutions for biking gear can drastically improve functionality. Look for products like modular storage bins, attached shelves, or even multifunctional furniture that can house biking essentials like shoes, jerseys, and other equipment. This approach ensures everything is in one place, making it more convenient to prepare for rides.